Garden ” Seedling mess
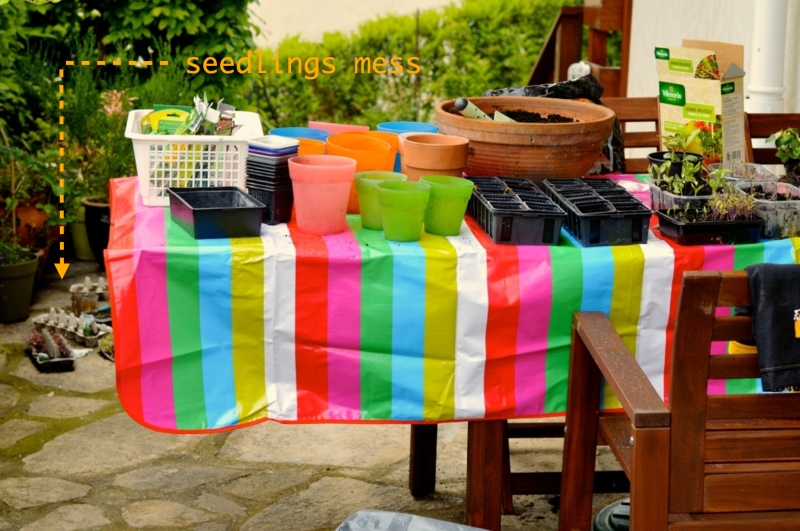
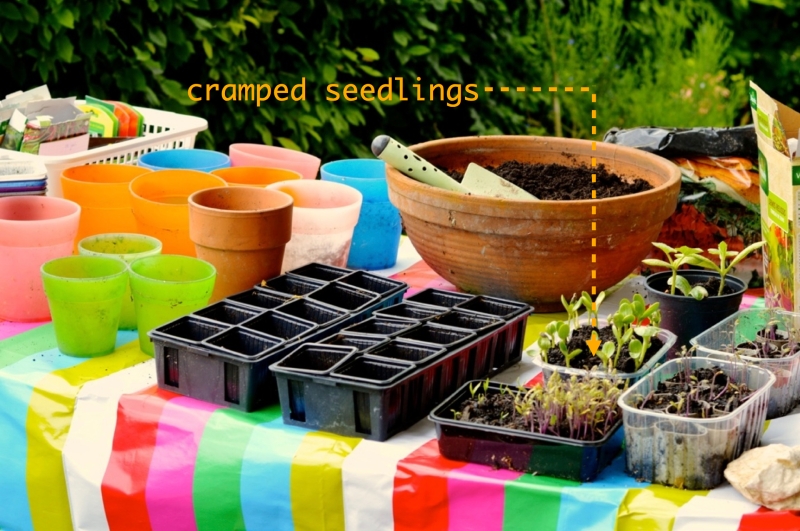
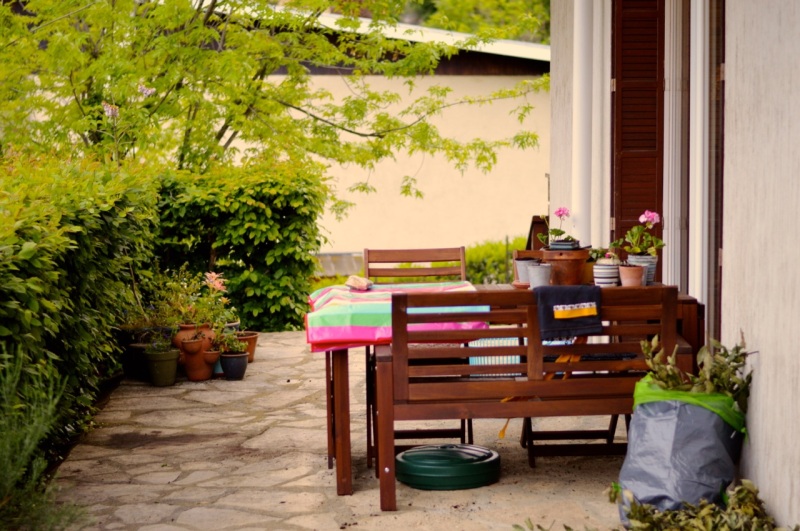
Extremely short post today. I’ve worked a full workday today at this table – pfff – very gratifying, but I’m happy that it’s now done for a week or two. I needed to clear up the seedlings mess I created during these last couple of months. I started arranging my seeds this year early, already in january. I started seeding early with some old seeds I had, to get rid of them with this season. But because I wanted to get rid of them, I used too many seeds and then I also forgot to give the seeds water (which Eduards father reminded me of), next to this the seeds were lying on the floor and the floor is ice cold in our house (stone). Al these things combined meant that now four months later I have some seedlings that came out perfectly, some that didn’t come out, but most of them came out but are now a mess.
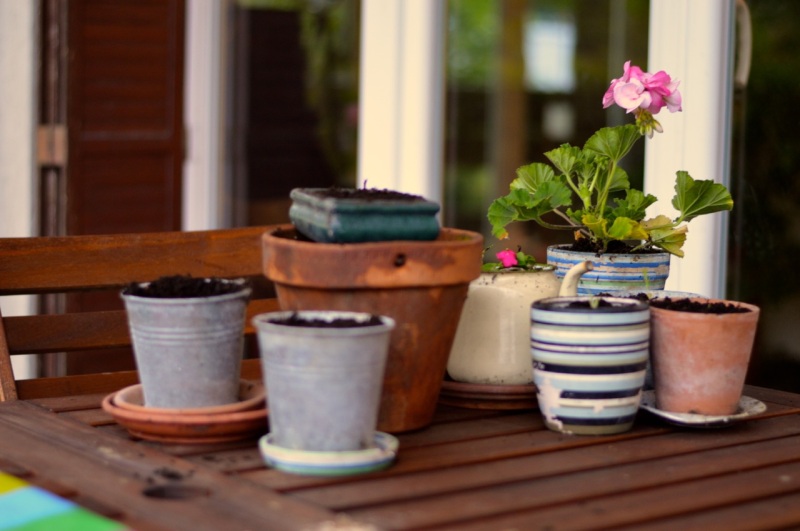
Today I decided that I had all materials in-house to solve this problem and I that’s why I spend the whole day at this table (and partly in the veggie garden). De-messing the mess. Giving these green guys some room. I could plant them out in the garden as well, but they are too small and fragile and therefore I decided to give them some room in bigger pots with some seedlings soil. Hopefully they will recover from my bad upkeeping.
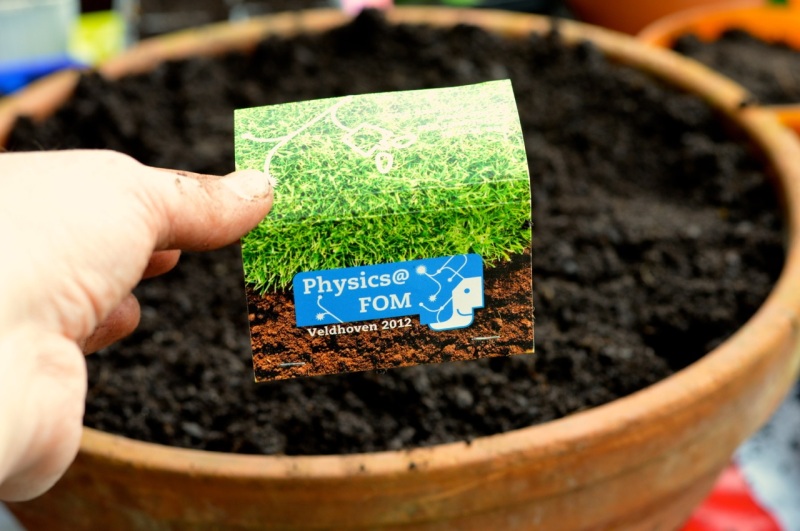
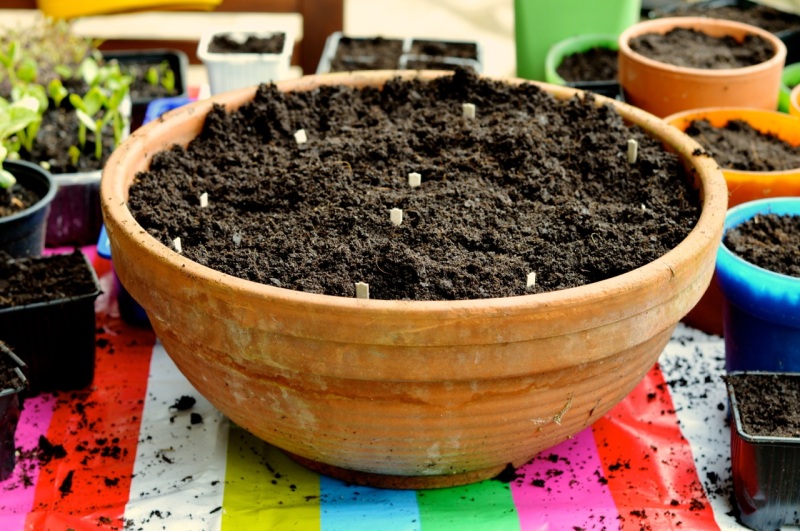
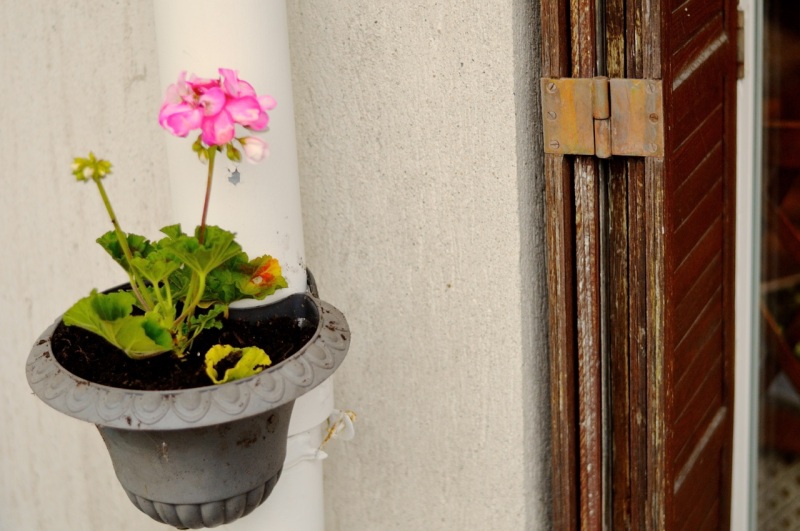
I also took the time to clean up our terrace and place some new/old pots and fill them with some new seeds and flowers. These were again some seeds that we had lying around that I now could use. Seeds are popular merch give-aways, even on nerdy physics conferences. Let’s see if they really produce some proper herbs.
As said, eight hours later and 200 liters of new soil all was done. Part of it was something I had to do anyway, but part of it was useless if I paid more attention earlier down the road. So if you are a garden rookie as I am, first lesson (well after you have chosen your seeds) is that you only need to use the amount of seeds that you want to have plants for in the end, and then add a few extra, but not 50 extra (except if you are planning on having 100 plants, then you might want to do 50 extra for security reasons ;)).
But well, it’s all a learning experience, so next year I’ll do this better and since I have to make new seedlings every two/three weeks, I can bring this lesson into practice even sooner.
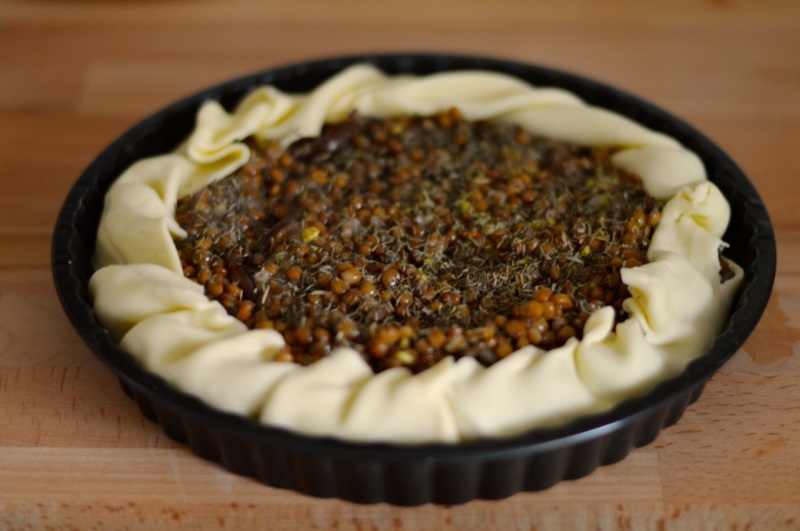
And then at the end of the day after working first and then working in the garden next, I really didn’t want to cook as well, so I whipped up a quick but tasty quiche! The recipe you ask? I don’t use those as said earlier, but it was something like this:
Ingredients:
- quiche dough
- aubergines conserved in oil (from a supermarket jar in this case, but you can also just make your own)
- two table spoons of the aubergine oil
- lentils (drained from a can)
- two eggs
- 50ml milk
- half cube of veggie “stock”
- three teaspoons of thyme
Place dough in quiche tray (put some oil between the dough and the tray). Drain the lentils, drain the aubergines (keep the oil). Place the aubergines on the dough, place the lentils on top of the aubergines. Mix the egg, milk, veggie stock-cube and two tablespoons of aubergine oil. Pour the mix on top of the lentils in the quiche. As finishing touch spread the thyme on top of everything. Place the quiche in the oven. Bake it for 30-40 minutes on 180 degrees (celsius). Eat it with some yoghurt or a salad, it’s delish and easy!
Garden wise, next thing will be making more beds in the garden and organising all the seeds for the upcoming seeding periods. I kind of always just made seedlings once, since we only had a small balcony, but now with the luxury of a real garden, we can have crops all year long, so we also have to seed all year with some intervals. Exciting, especially after we just had our first lettuce, will post that update later on. Goodnight!

